Posted by Taggart Downare
on July 05, 2023
A rotator cuff and/or frozen shoulder injury can be a painful and debilitating condition that affects the muscles and tendons surrounding the shoulder joint. Whether you've experienced a strain, tear, or tendonitis in your rotator cuff, implementing a well-rounded exercise program can play a vital role in your recovery and rehabilitation. This article will explore a variety of exercises designed to strengthen and stabilize the rotator cuff, helping you regain mobility, reduce pain, and improve overall shoulder function.

- Range of Motion Exercises: The initial phase of rehabilitation for a rotator cuff injury typically involves gentle range of motion exercises to improve joint mobility and flexibility. These exercises should be performed with caution and within a pain-free range. Examples include:
a) Pendulum swings: Bend at the waist while supporting your upper body with your non-injured arm. Let the injured arm hang freely and gently swing it in circles, both clockwise and counterclockwise.
b) Codman's pendulum exercises: Lean forward and rest your non-injured arm on a stable surface. Allow the injured arm to hang down, then gently swing it back and forth like a pendulum.
- Strengthening Exercises: As the pain subsides and your range of motion improves, you can progress to strengthening exercises that target the rotator cuff muscles. It's important to start with light resistance or bodyweight exercises and gradually increase the intensity as you gain strength. Here are a few effective exercises:
a) External rotation with resistance band: Attach a resistance band to a stationary object at waist height. Hold the band with the injured arm, elbow bent at a 90-degree angle, and forearm parallel to the floor. Rotate the forearm outward against the resistance of the band and return to the starting position.
b) Internal rotation with resistance band: Similar to the previous exercise, but this time, rotate the forearm inward against the resistance band.
c) Scapular squeezes: Sit or stand with good posture, retract your shoulder blades (squeeze them together), and hold for a few seconds before releasing. Repeat for several repetitions.
- Isometric Exercises: Isometric exercises involve contracting the muscles without any joint movement. They can be particularly useful during the early stages of rehabilitation when range of motion is limited. Isometric exercises help in activating the muscles and promoting blood flow to the injured area. A few examples include:
a) Isometric external rotation: Position your elbow against your side, forearm bent at a 90-degree angle. Place your hand against a solid surface, such as a wall, and push outward, engaging the muscles of the rotator cuff. Hold for 10 seconds and release.
b) Isometric internal rotation: Adopt a similar starting position as the previous exercise, but this time, place your hand on the inside of a door frame or another solid surface. Push inward against the surface, engaging the muscles of the rotator cuff. Hold for 10 seconds and release.
- Functional and Dynamic Exercises: As your shoulder strength improves, incorporating functional and dynamic exercises can help prepare your shoulder for real-life movements and activities. These exercises focus on integrating the rotator cuff muscles with other muscle groups and enhancing overall shoulder stability. A few examples include:
a) Push-ups on an incline or against a wall: Start with an inclined surface or against a wall to reduce the weight placed on the injured shoulder. Gradually progress to traditional push-ups as your strength improves.
b) Dumbbell shoulder press: Sit or stand with dumbbells in hand at shoulder level, palms facing forward. Extend your arms overhead, fully straightening them, and then lower them back down to the starting position.
c) Standing rows: Stand with a resistance band or cable
machine in front of you. Hold the band or handle with both hands, palms facing each other, and step back to create tension. Keep your shoulders down and back, then pull the band or handle towards your body, squeezing your shoulder blades together. Slowly release and repeat.
d) Medicine ball rotations: Stand with your feet shoulder-width apart, holding a medicine ball with both hands in front of your chest. Rotate your torso to one side while keeping your hips stable, then rotate to the other side. This exercise helps improve rotational strength and stability in the shoulders.
- Stretching and Mobility Exercises: In addition to strengthening exercises, incorporating stretching and mobility exercises into your routine is crucial for maintaining flexibility and preventing stiffness in the shoulder joint. Some beneficial stretches include:
a) Cross-body stretch: Extend the injured arm across your body at chest level, using your non-injured arm to gently pull it closer to your chest. Hold the stretch for 20-30 seconds and repeat on the other side.
b) Doorway stretch: Stand in a doorway and place your forearms on each side of the doorframe. Lean forward slightly until you feel a gentle stretch in the front of your shoulder. Hold for 20-30 seconds.
c) Shoulder rolls: Stand or sit with good posture and gently roll your shoulders in a circular motion, first forwards and then backwards. Perform 10-15 repetitions in each direction.
Recovering from a rotator cuff injury requires patience, consistency, and a well-structured exercise program. The exercises mentioned above can help strengthen the rotator cuff muscles, enhance shoulder stability, and promote a full range of motion. Remember to always consult with a healthcare professional or a physical therapist before starting any exercise program to ensure it is appropriate for your specific condition and stage of recovery. By diligently following these exercises and gradually progressing as your strength improves, you can restore shoulder function and return to an active and pain-free lifestyle.
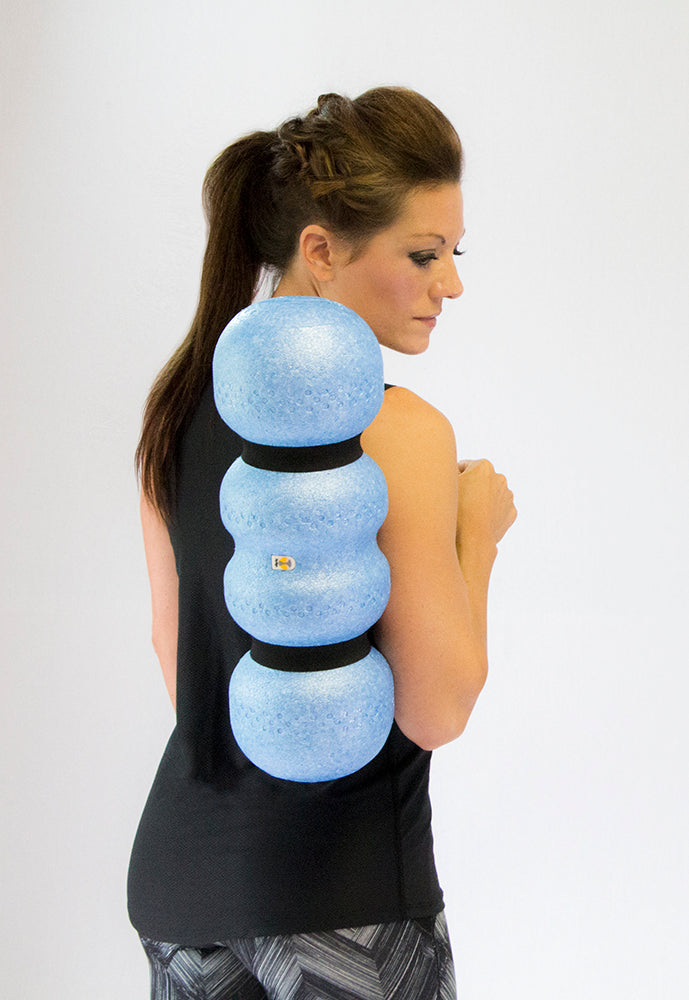
In addition to the exercises mentioned above, incorporating self-myofascial release techniques using a Rollga Foam Roller can be an excellent complement to your rotator cuff injury treatment plan. Self-myofascial release involves applying pressure to specific areas of muscle and fascia to release tension, improve circulation, and restore optimal muscle function. Here's how the Rollga Foam Roller can be utilized:
-
Upper Back and Shoulders: Lie on your back with the Rollga Foam Roller positioned horizontally beneath your upper back. With your knees bent and feet flat on the floor, gently roll back and forth, targeting the muscles around the upper back and shoulders. Pause on any tender spots or trigger points, applying gentle pressure for 20-30 seconds to release tension.
-
Pectoral Muscles: To release tightness in the pectoral muscles, stand facing a wall with the Rollga Foam Roller positioned vertically against the wall. Place your hand on the roller at shoulder height and lean your body weight into the roller. Roll back and forth, focusing on the chest muscles. Adjust the angle and position of the roller to target different areas of the pecs.
-
Latissimus Dorsi: To target the muscles along the sides of your upper back, position the Rollga Foam Roller vertically on the floor. Lie on your side with your arm extended overhead and the roller placed beneath your armpit. Roll back and forth along the length of the latissimus dorsi muscle, from the armpit to the lower ribcage, pausing on any tight or tender areas.
-
Triceps and Biceps: To release tension in the triceps and biceps, sit on the floor with the Rollga Foam Roller positioned vertically behind you. Place your hands on the roller behind your hips, fingers pointing towards your feet. Lift your hips off the ground and roll back and forth along the back of your upper arms. Adjust the pressure by controlling the amount of weight you place on your hands.
When using the Rollga Foam Roller for self-myofascial release, it's essential to maintain proper form and listen to your body. Start with gentle pressure and gradually increase as tolerated. If you experience severe pain or discomfort, discontinue the exercise and consult with a healthcare professional.
Integrating self-myofascial release techniques with the exercises mentioned earlier can provide several benefits for your rotator cuff injury recovery. Self-myofascial release helps break up scar tissue, improve tissue mobility, and increase blood flow to the injured area, promoting faster healing. It can also alleviate muscle imbalances and tightness, reducing the risk of future injuries.
Remember, the Rollga Foam Roller is just one tool that can aid in your rehabilitation. It should be used in conjunction with a comprehensive treatment plan that includes exercises, stretching, and guidance from a healthcare professional or physical therapist.
Conclusion: Self-myofascial release using the Rollga Foam Roller can be a valuable addition to your rotator cuff injury treatment plan. By incorporating self-myofascial release techniques along with targeted exercises, stretching, and other rehabilitation strategies, you can expedite your recovery, alleviate pain, and restore optimal shoulder function. However, it's crucial to consult with a healthcare professional to ensure these techniques are appropriate for your specific condition and to receive guidance on proper form and intensity. Stay consistent, be patient, and soon you'll be well on your way to regaining strength, mobility, and a pain-free shoulder.